If you’re looking to give your car that coveted showroom shine that lasts, power waxing is the way to go. This method not only protects your vehicle’s paint but also enhances its appearance. We’ll guide you through the process of achieving a long-lasting shine with power waxing, using the right products and techniques.
Step 1: Wash Your Car
Before you begin the power waxing process, it’s crucial to start with a clean canvas. Washing your car removes dirt and debris that could scratch the surface during waxing. Use a high-quality automotive car wash soap and a wash mitt or sponge to clean your vehicle. Rinse it to ensure all soap residue is gone.
Step 2: Choose the Right Wax
Selecting the right wax is pivotal for a successful power waxing job. Look for a high-quality automotive wax designed for power waxing. One excellent option is ( Product ) Turtle Wax ICE Spray Wax, known for its ease of application and long-lasting results. The right wax will provide a deep and lasting shine.
Step 3: Apply Wax Section by Section
To ensure even coverage and avoid the wax drying out, work on one section of the car at a time. Start with the roof and move downward. Spray the chosen wax onto the car’s surface, covering it evenly.
Step 4: Use the Appropriate Buffer or Orbital Polisher
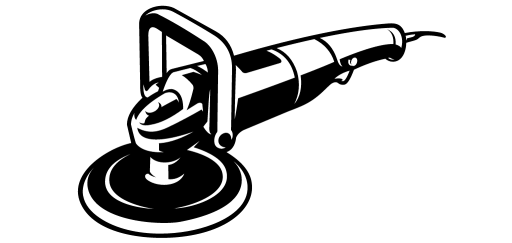
Invest in a power buffer or orbital polisher for this step. These tools make the wax application process more efficient and consistent. Ensure you have the appropriate pad for your buffer; a foam pad works best for liquid wax. Using the wrong pad could lead to uneven application and potential paint damage.
Step 5: Buff in a Circular Motion with Light Pressure
Once the wax is applied, use the power buffer or orbital polisher to spread it evenly over the section. Apply light pressure, moving the buffer in a circular motion. Be cautious not to exert too much force, as this could harm your car’s paint. The aim is to achieve a thin, uniform layer of wax.
Step 6: Allow the Wax to Dry
After you’ve covered the entire car, it’s time to let the wax dry completely. Drying times may vary depending on the type of wax used, but it can take anywhere from 10 to 30 minutes. During this time, the wax will bond with the paint, enhancing its shine and providing protection.
Step 7: Buff with a Clean Microfiber Towel
To reveal the stunning shine, use a clean microfiber towel to buff the wax off your car. Employ a circular motion to gently remove the wax, revealing the lustrous finish underneath. Make sure to use a fresh towel for each section of the car to prevent scratching.
Conclusion:
By following these meticulous steps and selecting the right products, you can achieve a long-lasting shine with power waxing. Remember that quality products and the correct technique are key to both enhancing your car’s appearance and safeguarding its paint. With a little effort and the right tools, your vehicle will be turning heads with its brilliant shine for a long time to come.
